
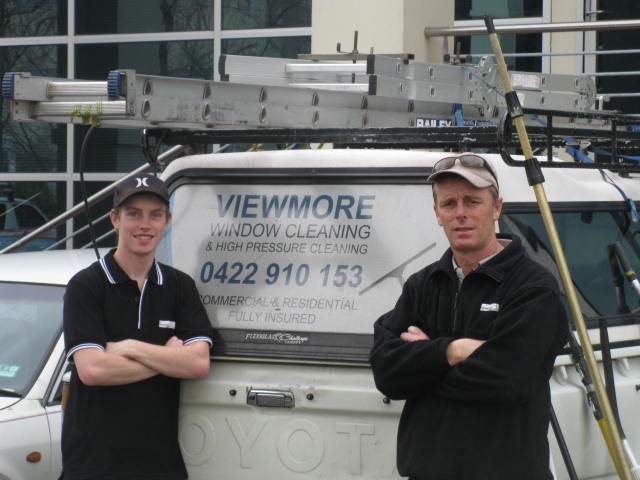
 "Viewmore Window Cleaning" is a family operated business with 2 generations working in the window cleaning industry. John Harrington is the owner/operator and has been living and working in the Bayside suburbs of Melbourne for over 25 years. Two years ago his son Daniel joined the business and together they have been able to offer a genuine service to their clients based on good old fashion service and values." This article was kindly submitted by John Harrington of "Viewmore Window Cleaning" in Melbourne. Don’t forget to visit his website - Melbourne Window Cleaning – Viewmore Window Cleaning.
"Daniel earlier this week launched his own site, Window Cleaning Forum Australia which is aiming to become an interactive site with high quality information about window cleaning in Australia. Having noticed that there was no online discussion sites for window cleaning in Australia, and that the only specific information required you a fee to join their site, Daniel decided to start his own with the hope that contributing window cleaners across the country will help grow the site." Discuss this article on the forum.
DIY Curve Pole for $20
Introduction:
Seen those fancy curved window cleaning poles that have a curved top section of the pole to give you a better angle when window cleaning? Not sure if it worth spending the money on? Well I’ll teach you how to make a simple, cost effective version, that works just as well and is more customizable to your required task. All prices in Australian dollars (AUD) What do you need?
• $10 A window cleaning pole. We use a pole from the pool cleaning section at K-Mart.
• $5 Window Cleaning Pole Tip
• $5 Irrigation Pipe (Check your local hardware)
• $0.50 Super Glue
• A few spare cable ties.
• Heat Gun (not included in price).
How much is the official Mr Longarm Pro Curve?
12’ 3 Section $41.00 AUD (not incl postage from USA)
18’ 3 Section $51.50 AUD (not incl postage from USA)
Step 1:
Assemble all your equipment to your work station, you should have some of the required pieces lying around (super glue and cable ties) so that will be easy to get. You can see exactly what I used below, the pole is a short 8 foot version, but you can use whatever size you like.

Step 2:
Take your irrigation pipe, this is what we will use to create the curved section of the pole.
This is optional: Cable tie the bottom of the pipe to a chair leg to get a perfect bend.
Take your heat gun, and aim it at the point where you want the bend to be. Where the heat gun is aimed will be the center of the curve as it will curve the surrounding areas too. Maintain the heat gun, and bend the pipe by pulling/pushing (depending on where you are standing) from the top of the pipe until you reach a degree of curvature that you are satisfied with. The pipe will reduce the bend slightly as it cools, so you should factor that into your calculations. It was cold when I made my pole, so it cooled fairly quickly but you can place it in a bucket of water if you want it to cool almost instantly.

Step 3:
Using your heat gun again, this time heat the end of the pipe you are going to be connecting the tip of the pole to. Heat the end of the pipe until it becomes soft enough to slide the tip in firmly. You may need some glue to keep it in place if the tip is slightly loose. In my case, it was a perfect fit and is incredibly solid without glue.

Step 4:
Putting it all together! This is a fairly straight forward step, all you need to do is slide the pipe in the top of the pole. It will only slide as far as the bend, so you don’t need to worry about how far to push it, although you want a reasonable length of pipe inside the pole in order for it to be strong enough to handle pressure. If you find the pole twists, which it likely will, just place either some super glue around the pipe and slide it back in. The glue will fasten and hold the pipe in place.

Finished Product:

Optional Steps:
1. Due to the angle of the curve, the steel pole itself won’t come in contact with the window you are cleaning, hence why this is an optional step. You can wrap the end of the steel pole, where you slid the pipe in, with duct tape or something similar in order to create a buffer between the metal edge and any glass. This will provide a greater level of strength to the pole as any twists will have resistance from the glue and the tape.
2. Also if you use wagtail squeegee’s, they work very well on this pole, you just need to create a marker near the tip of the pole so you can line it up correctly.
Customize it!
The pipe is able to be bent to any angle, so you can make it as curved as you want! You could even make the curve longer make it similar to the goose neck of a water fed pole to reach into deeper ledges and sills. Let us know how you went by posting pictures and sharing ideas in our forum.
Editors note: This article in no way or form stipulates that building this pole will emulate the unique properties found in the Mr. Longarm Pole with it's own unique twisting & cleaning action.
5 comments:
It is a really interesting post. I haven't seen any similar tips online. They will be definitely helpful for people who prefer doing the window cleaning themselves.
Window Cleaning London
Hi,
Nice and informative post.
I appreciate work done by author for sharing this informative post. Thanks for sharing this post.
Keep posting your updates
In the net is hard to find a reliable sourse of information, because you don't know the origins of the story. Sharing your point of vew was very helpful for me to evaluatle where the truth lies.
Great work and good effort,
Thanks for sharing lovely story.
As part of regular maintenance practices around your home, you should clean your windows regularly depending on the condition of the surrounding environment.
window cleaning melbourne
Post a Comment